VMWare
SlashDB ships fully configured as a virtual machine image for VMWare. VMWare allows for a fully functional SlashDB server in one download that avoid a lengthily installation process. Evaluate VMWare on a laptop then clone and reside it to an enterprise server. VMWare requires familiarity with VMWare tools such as VMWare Workstation, VMWare Player and is a relatively large download.
1. Download the OVA file with SlashDB
https://downloads.slashdb.com/latest/slashdb.ova
Linux bash commands:
wget -c https://downloads.slashdb.com/latest/slashdb.ova
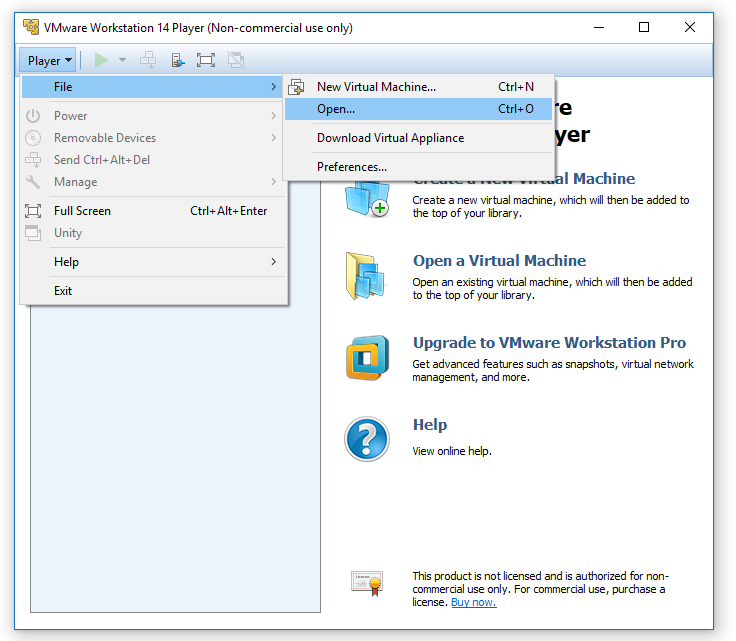
2. Import downloaded OVA file
Launch VMWare and import OVA file using menu option Player -> File -> Open (Ctrl+O).
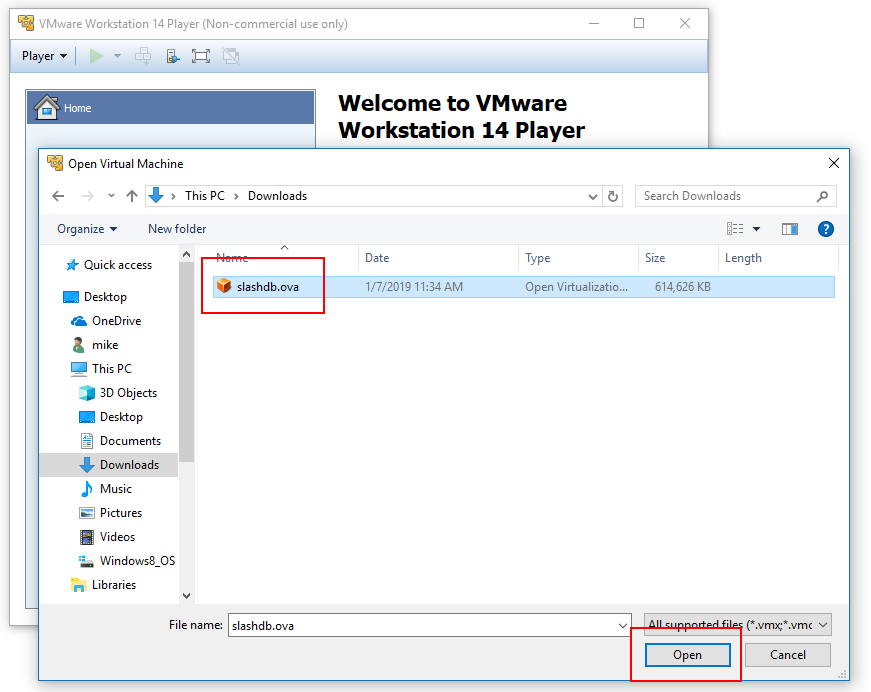
3. Select downloaded OVA file
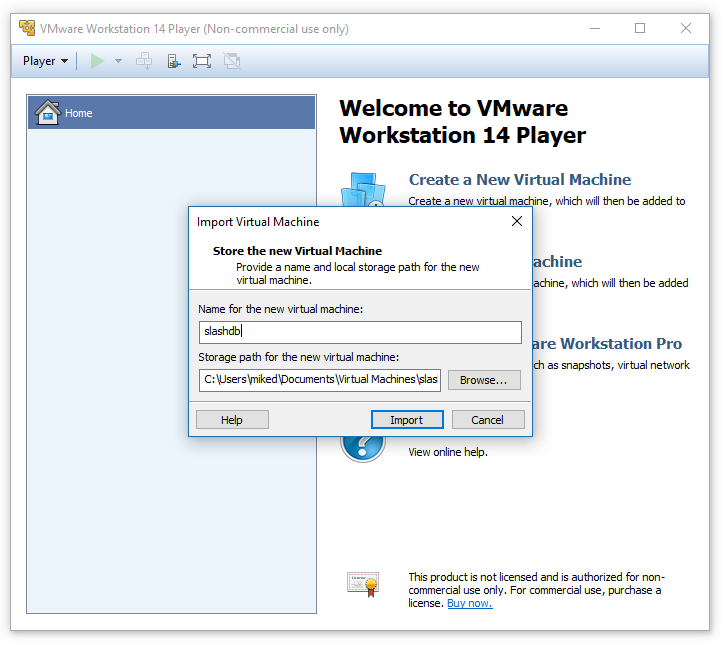
4. Name the new virtual machine
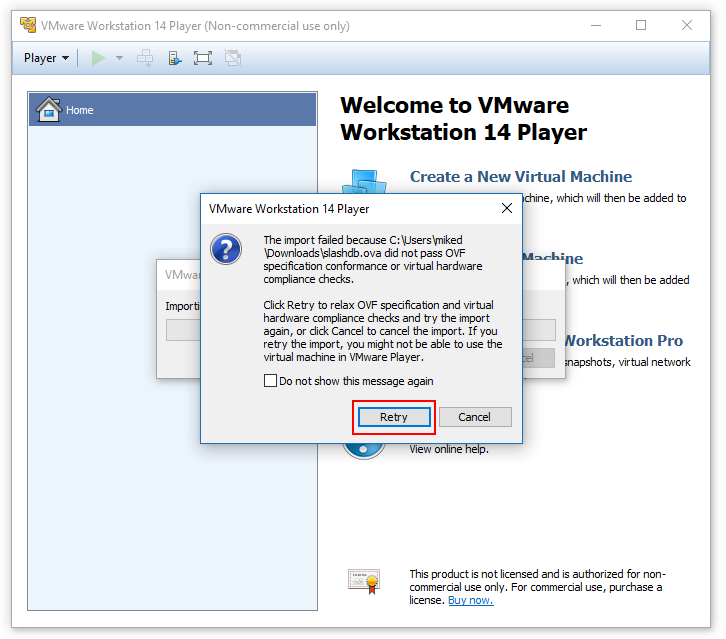
5. Relax OVF specification
During the import you may receive warning that VM did not pas OVF specification. Click Retry to continue import.
6. Import in progress
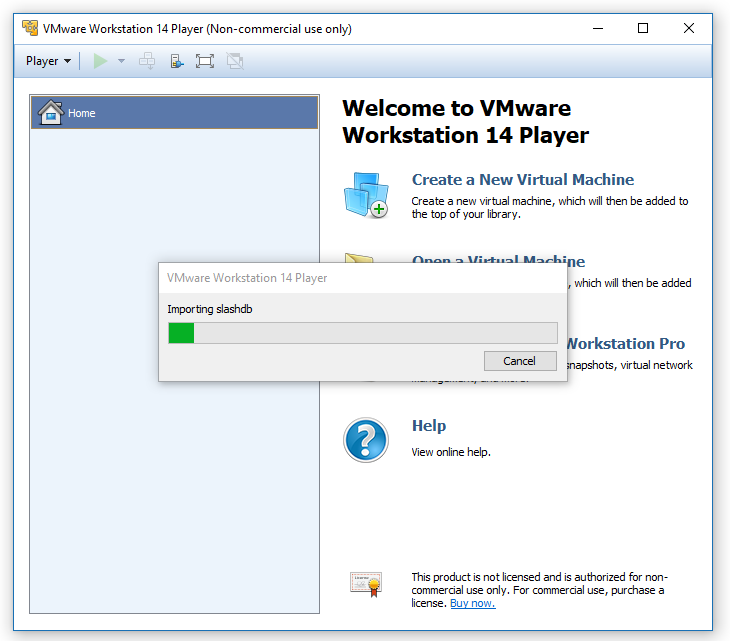
When complete, the imported machine will appear on the list.
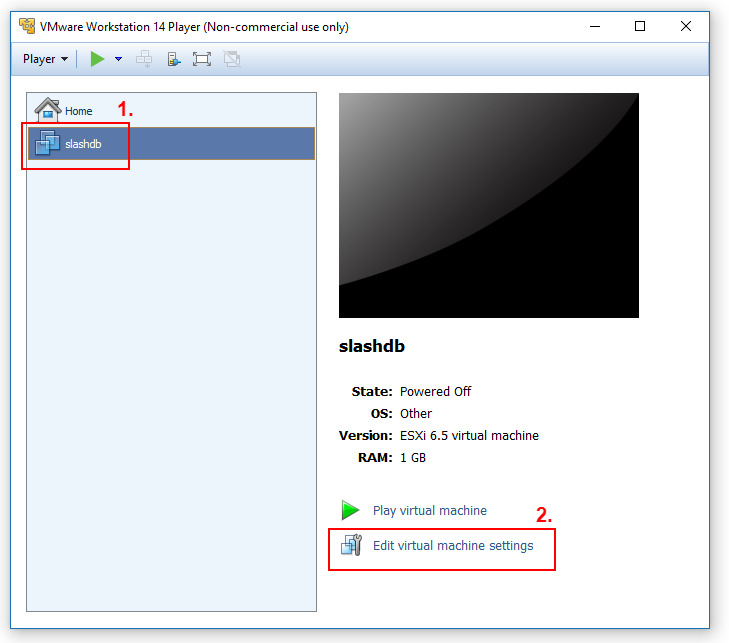
6. Update network settings
Virtual machine with SlashDB is a REST API hence you must me able to connect to the instance through the network. In case of VMWare Player we suggest to use a bridged network interface. To do so:
Select imported virtual machine from the list and press the Edit virtual machine settings.
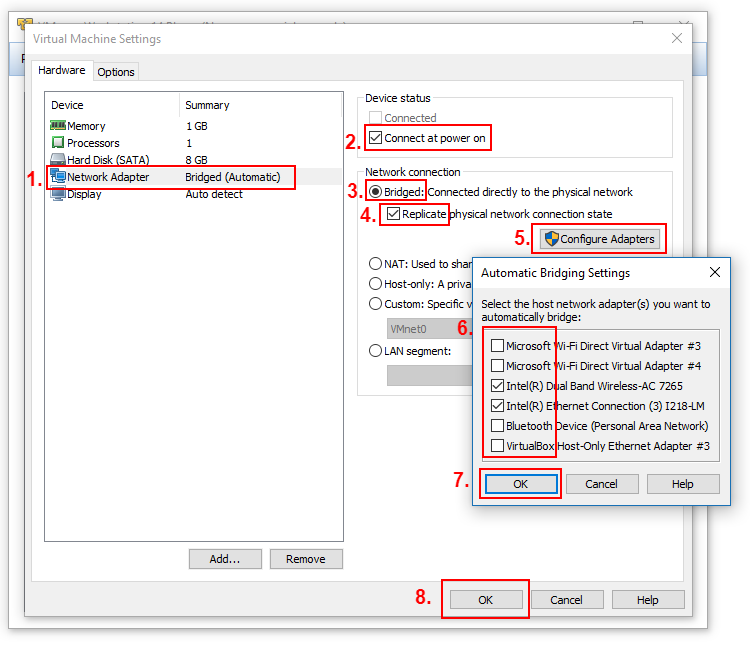
On the list of hardware components select Network Adapter, make sure Connect at power on is checked, from Network connection select Bridged and check Replicate physical network connection state. Next click on Configure Adapters to see list of available network adapters and select only those that are real network interfaces. Confirm everything with OKs and return to the list of virtual machines.
7. Run SlashDB
On the list of virtual machines select SlashDB vm and click Play virtual machine button.
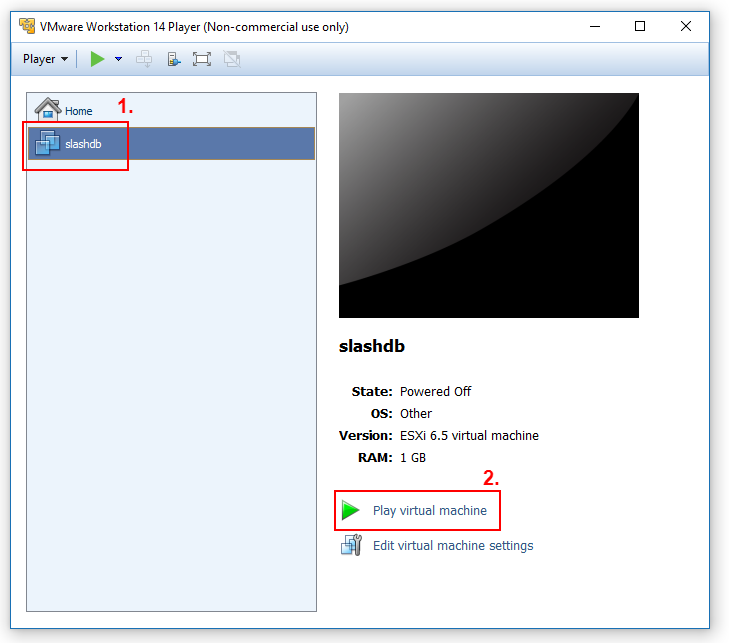
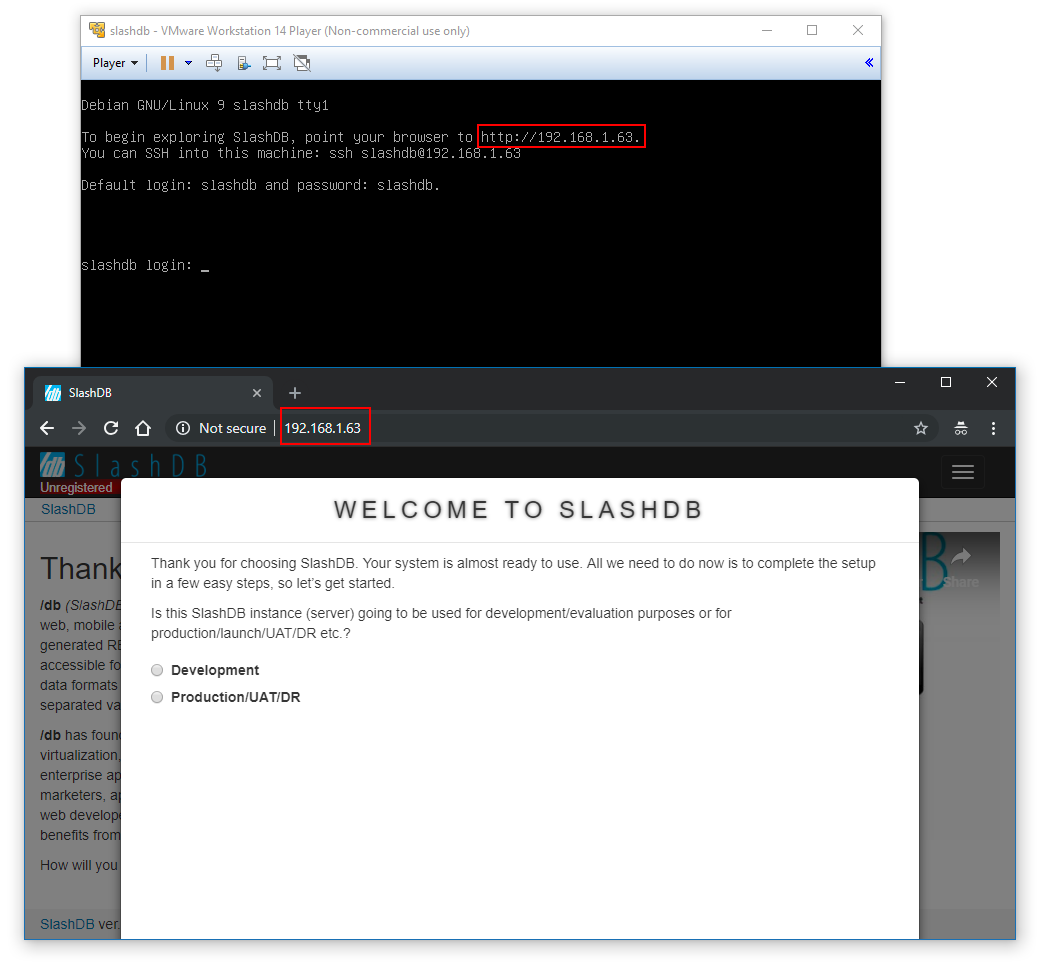
The virtual machine with SlashDB will start booting, it will obtain IP address from DHCP server and you will see a welcome message displaying that IP address. If it's not shown means that virtual machine didn't get the IP and you need to fix network configuration.
8. Ready!
Point your browser to the IP address displayed in the VM console.