Amazon Web Services
Amazon Web Services provides various cloud services (e.g. computing and hosting). SlashDB is available as an AMI on the AWS Marketplace, allowing for quick and easy deployment.
Instructions
1. Go to the SlashDB product page and click the Continue to Subscribe button.
2. On the following screen, read and accept the terms of service. Afterwards, click the Continue to Configuration button.
3. On the configuration page, select the region and version.
- Region - for optimal performance select the same region as your database.
- Version - we recommend using the latest version, which has the newest features and security updates.
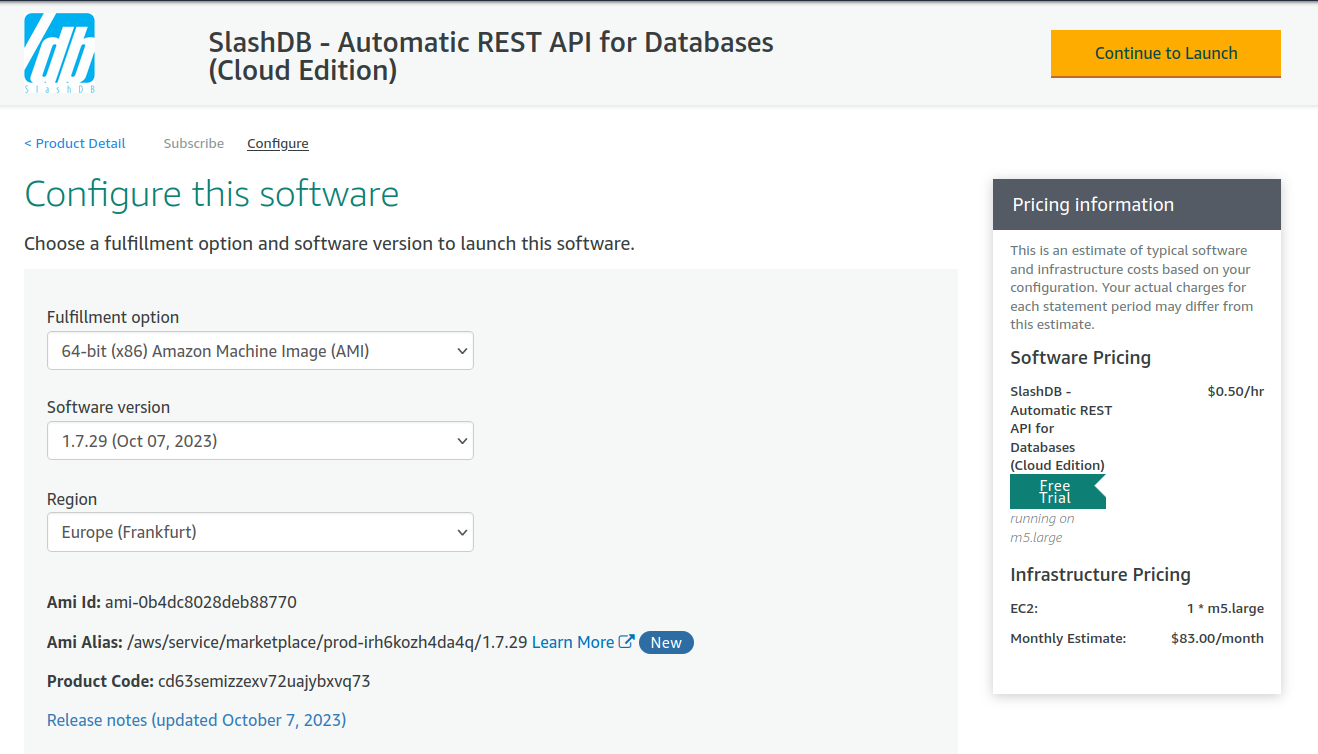
Next, click on the Continue to Launch button.
4. Now configure the instance that SlashDB will be running on.
- Leave Choose Action as Launch from Website
- Select desired instance size in the EC2 Instance Type option
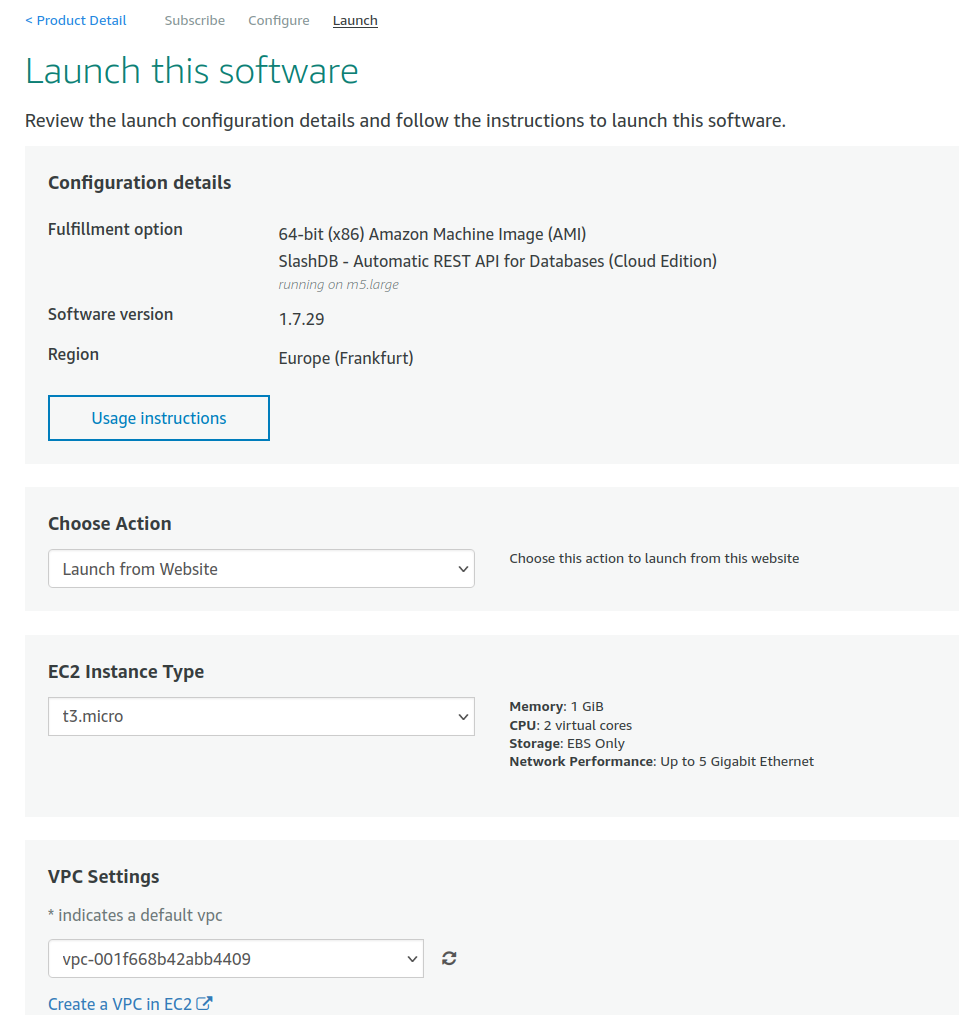
- Scroll down to the Security Group Settings and click the Create New Based on Seller Settings button. This enables you to access SlashDB through HTTP, HTTPS and SSH.
- In the Key Pair Settings section, select the key pair that will be used for connecting through SSH. If you don't have a key pair, you can create one by clicking the Create a key pair link.
- Click the Launch button to create the instance.
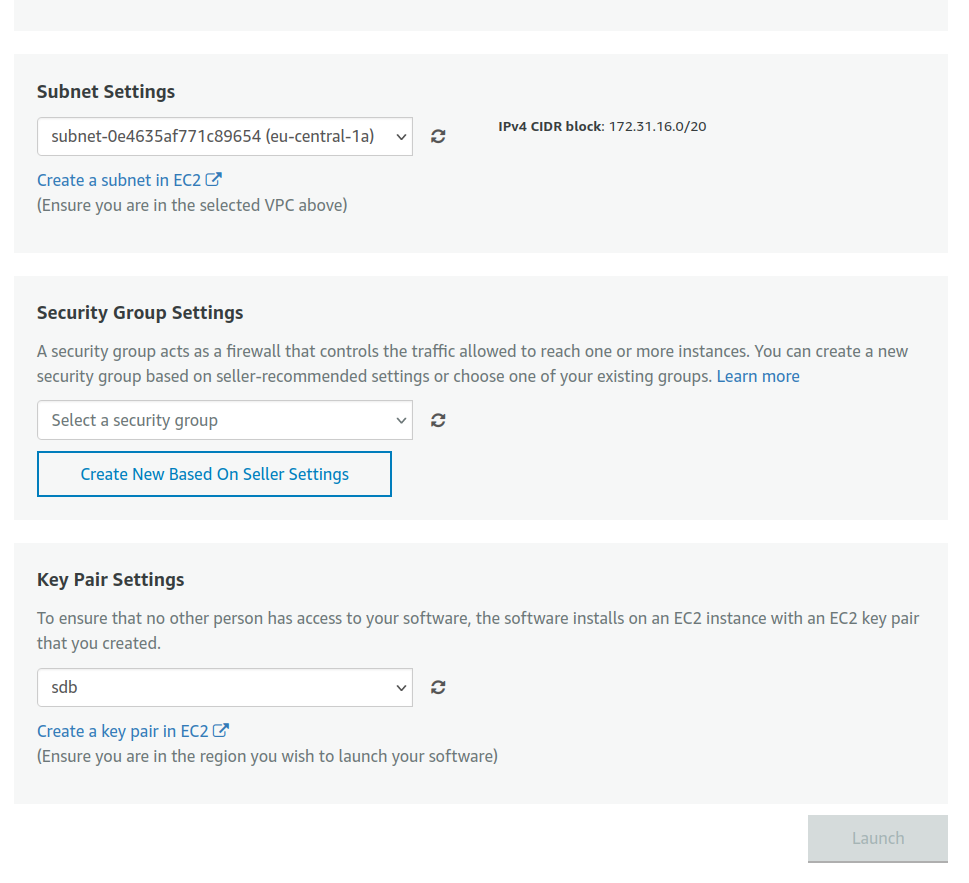
5. Return to the AWS Management Console - EC2 - Instances to see the status of your SlashDB instance.
6. If you already have database servers on AWS and would like SlashDB to connect to them, you will need to update their Security Groups to allow traffic from the SlashDB instance. Go to AWS Management Console - EC2 - Security Groups, and modify the security group of your database server to allow Inbound traffic from certain IP address on the database port.
The example below allows access to a PostgreSQL database using port 5432 from any IP address.
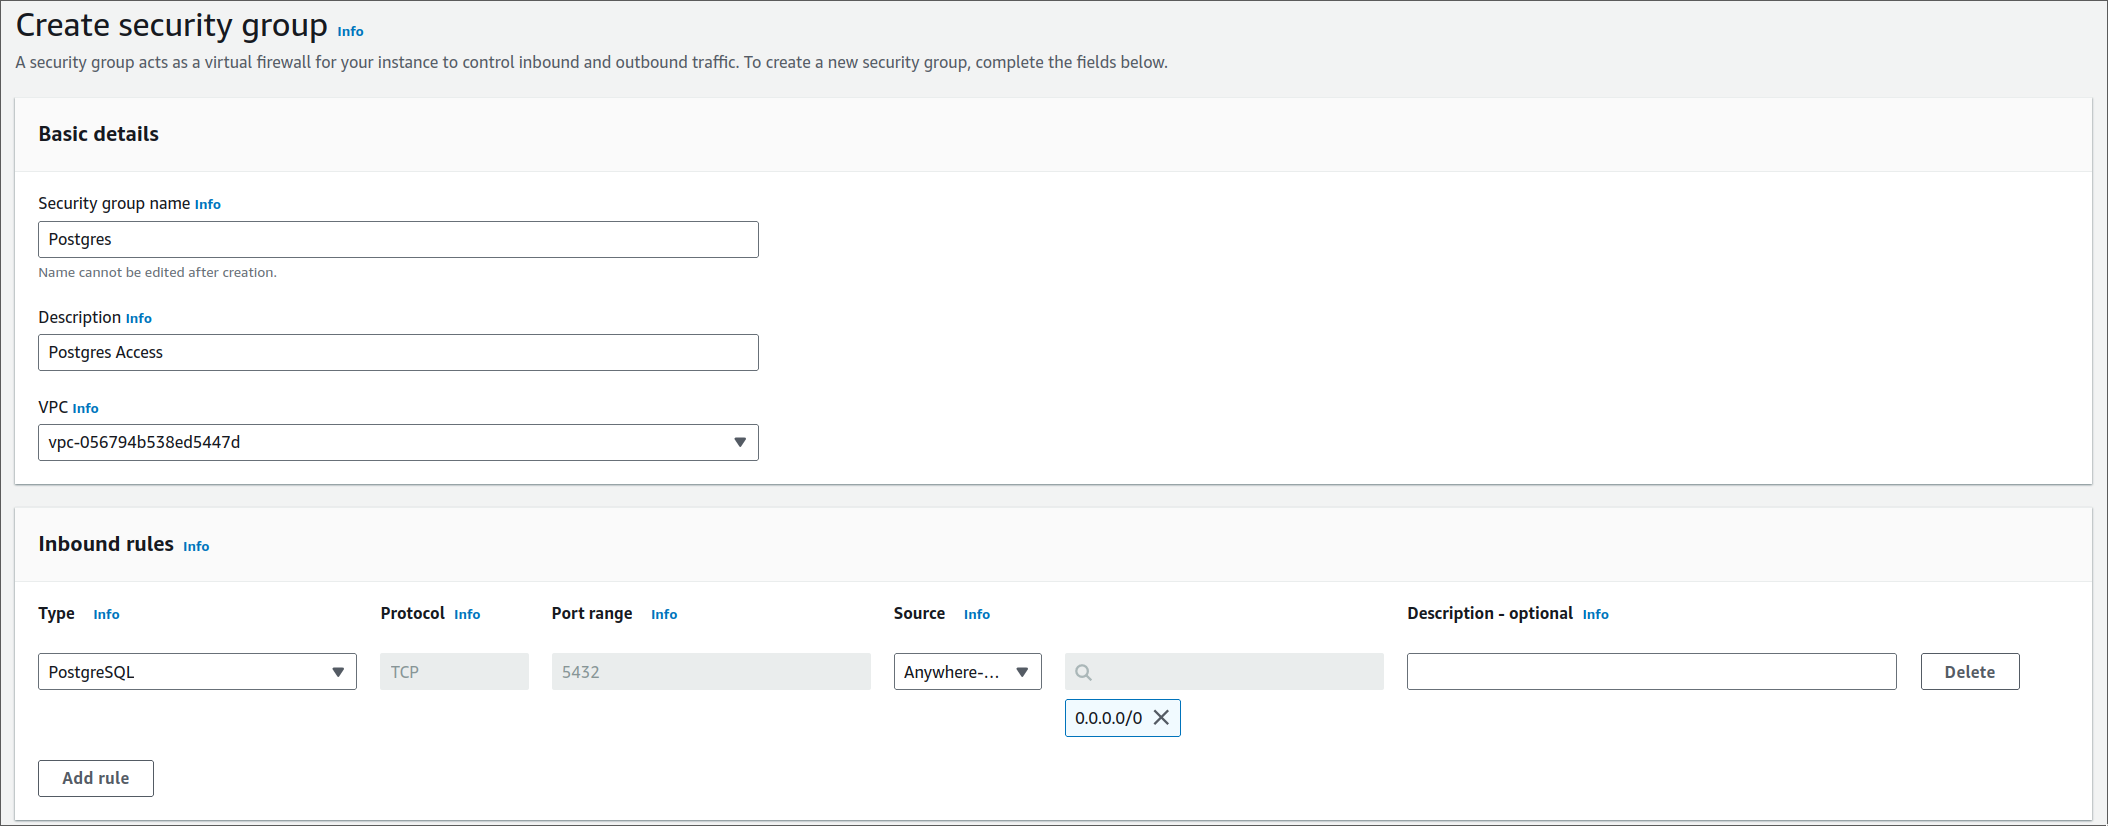
7. Click Create security group. A new entry should appear in the security group list. Configure your database instance to use this security group. Now the SlashDB AWS instance should be able to access the requested resources.
8. Once the Instance Status changes to "running" (green dot), you can begin using SlashDB by pointing your browser to the displayed IPv4 Public IP.
See Logging in for the first time for a walk-through of the setup wizard.
Note: because TLS is not configured automatically, you might need to explicitly connect through HTTP.
You can do this by typing http://{instance_ip}/ in the address bar.
We strongly recommend using HTTPS with SlashDB. To add an SSL certificate to your instance, see: Enable HTTPS/SSL or consider terminating SSL traffic using Elastic Load Balancer or an API Gateway.
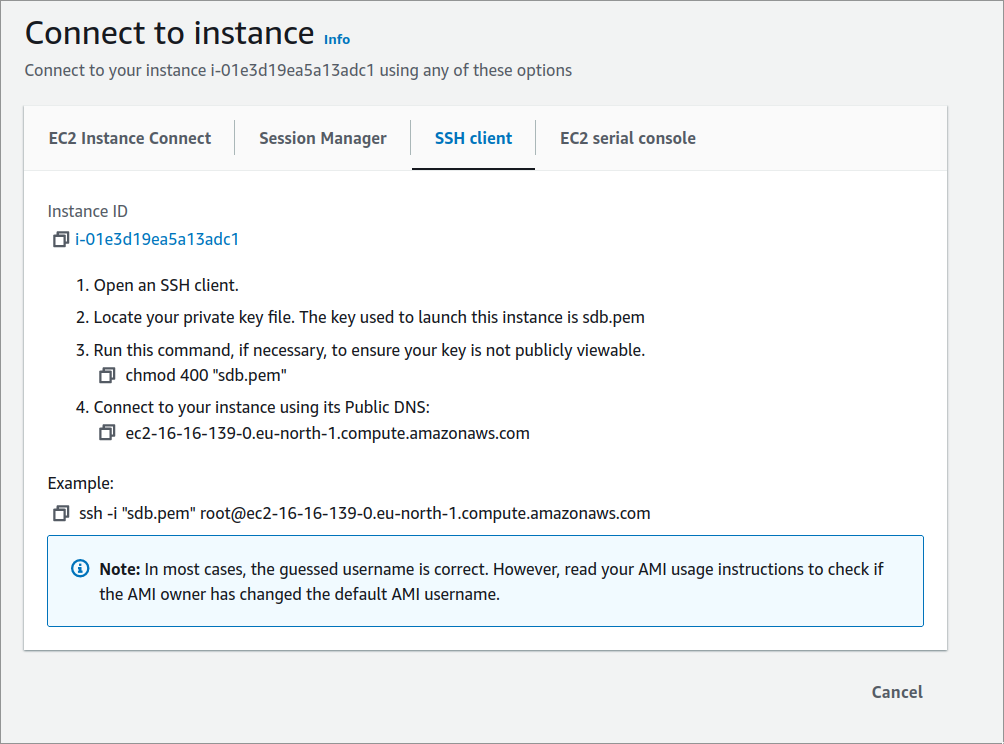
9. If you wish to log into your SlashDB server using SSH, select your instance list and click Connect, then follow the displayed instructions.
Note: the default username is changed to ec2-user.
10. To finish setup, see: